

I’ve received a number of questions about how I edit my photos for Instagram, so I thought a little step-by-step would be a fun way to show my method! I almost exclusively use the A Color Story App, which you can download here.
First things first, I take about 20-30 photos. Kidding, sort of. If I’m taking photos of an outfit, I’ll take a pile of them with slight changes in my expression and pose and rifle through to find the one I like.

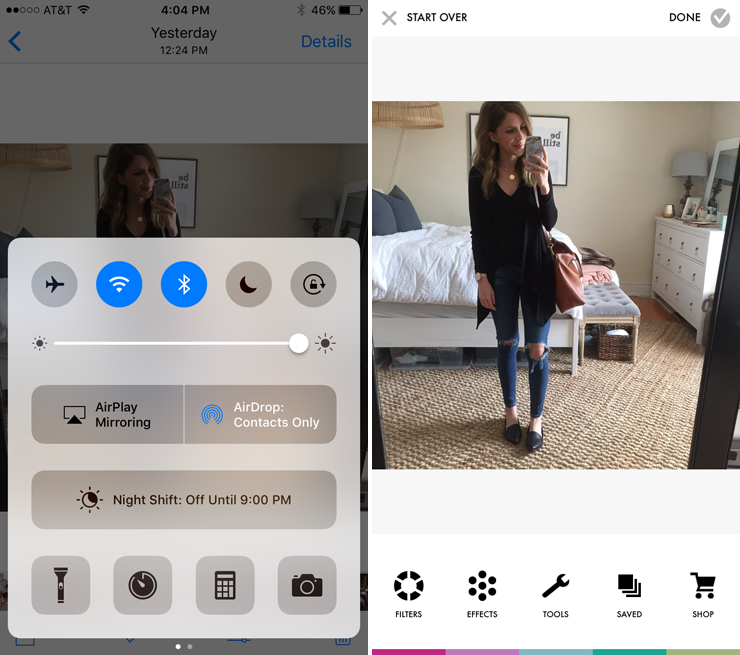
Once I’ve landed on the best one, I turn my brightness all the way up on my phone to see what kind of lighting I’m working with. My light source is a decent sized window to the right of me when taking photos, but the weather can really impact how much I need to edit the brightness. If the original is bright enough to work with, I open it in A Color Story to edit.
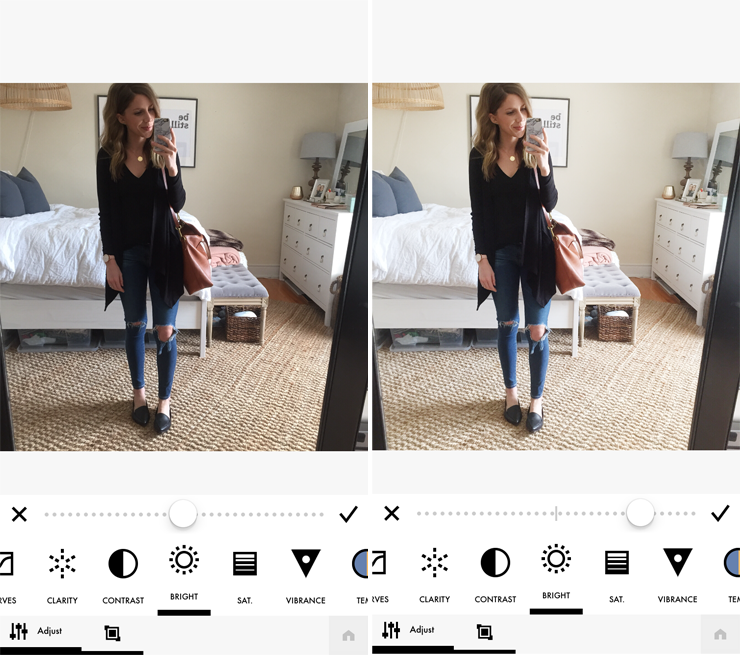
My first editing step is to play with the brightness. I like light and bright photos, but I don’t like when they’re too light that they get grainy or discolored. I toggle with the brightness a bit until I find one that looks good – sometimes that’s just a little to the right, other times it’s nearly all the way to the right.
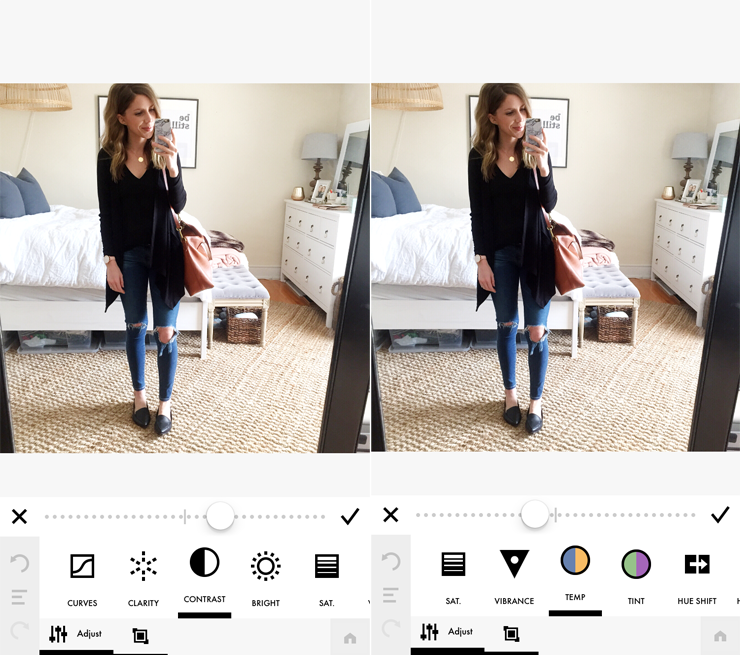
When brightness is set, I go into contrast to add in a little bit of the definition and…contrast…that was lost when adjusting the brightness. I don’t tend towards high-contrast photos, so just a few ticks on the scale will do the trick! Next up is adjusting the temperature. The walls on my rental apartment are an obnoxious yellow that I loathe with many parts of myself. Yellow walls paired with my warm-toned rug make for a strong yellow tint, at times. I’ll adjust the temperature to add in some blues, if I’m feeling like I have a lemon filter on the photo.
Those are the typical adjustments I make to the original – brightness, contrast and temperature. Every once in awhile, on a particularly sunny day, I’ll lower the exposure just a hair, but that’s not often.
Next, I move onto the filter.
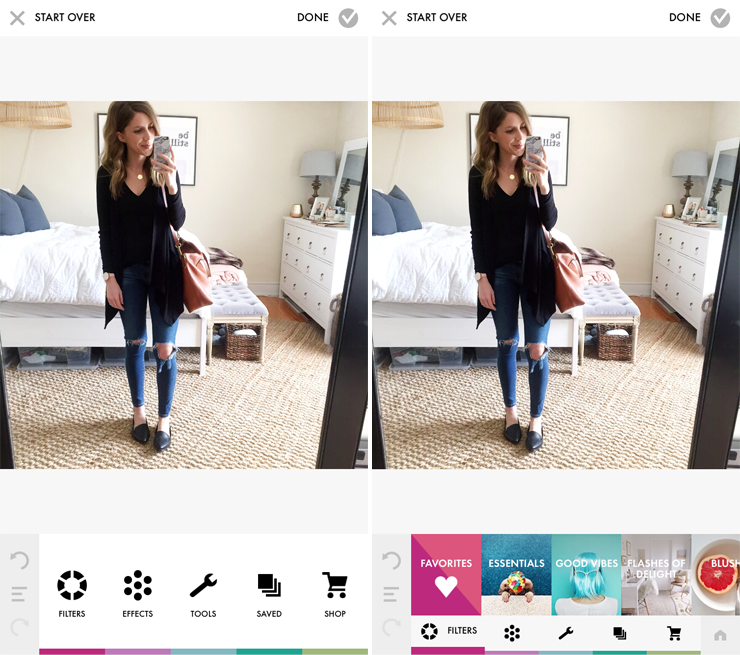
I don’t like overly-filtered photos. My fiancé and I couldn’t disagree more on this. Let’s just say he loves sepia. I bought the “Flashes of Delight” filter pack by Glitter Guide and love it. So many good filters! I almost exclusively use Carrie or Cassidy on my Instagram photos. Carrie has more blue tones, Cassidy is more yellow, so I’ll choose based on the existing temperature of the photo. (I.e. if my photo is already erring towards blues, I’ll go with Cassidy.) When you first select the filter, it’s at 100%, which is usually a bit aggressive. You can see the difference that just one filter makes:

I tone the filter way down, rarely going past the halfway mark on the scale. I find the spot that looks right and set it in place! Once the filter is on, it’s ready to be shared!

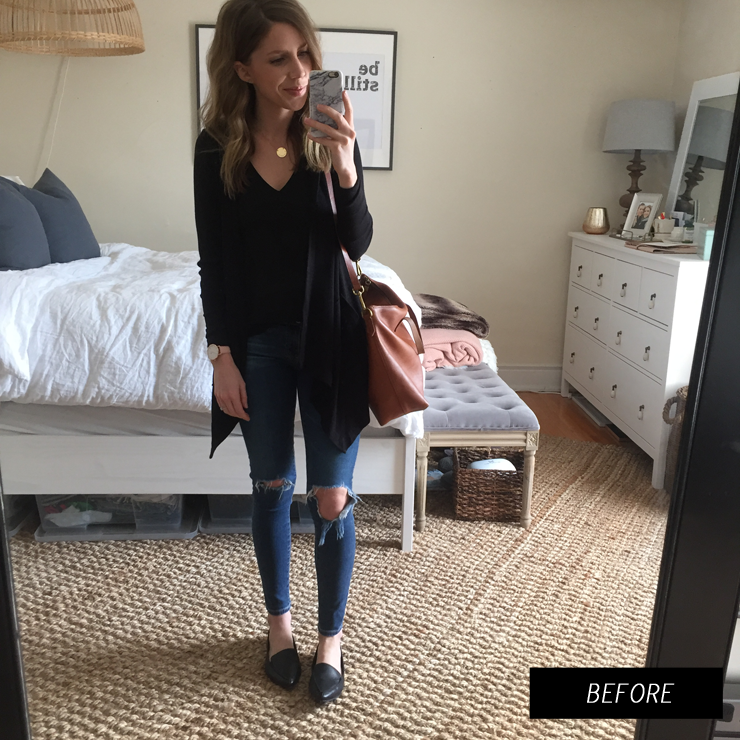
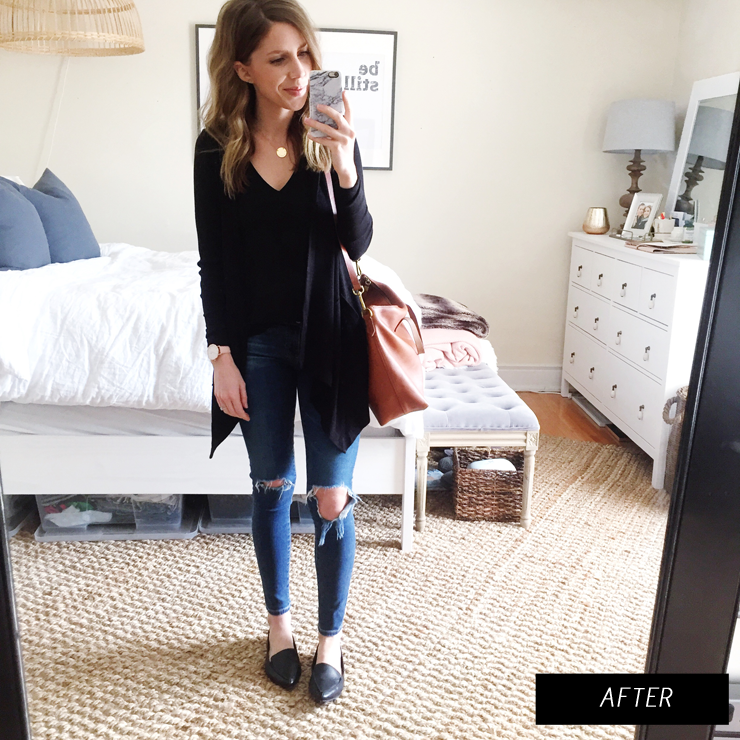
You can see just how much of a difference it makes to take a couple steps to adjust some of the elements of a photo. All in all, the whole process might take me a total of 2 minutes. I’ve got my methods down pretty solid and know exactly how I like to edit, so it’s a rather quick process. Plus, there’s nothing better, in the social media world, than a well-edited, cohesive looking feed, if you ask me. It’s worth taking that extra 2 minutes to make a photo look just how I’d like it to look!


this post is so fun! i'm glad i am not the only one who has to take a dozen photos to get the "right" one.
XO Lo
thoseprettypieces.com
Thanks for the tips!
x. kritsida
http://aperfectcanvas.net/
Thanks for this, Lauren! So helpful to have the step-by-step process. xx
Loved this tutorial! As a blogger just starting out it is so helpful to see how an established pro does it!